Cylinder bore prep
Posted: October 14th, 2010, 11:11 pm
Guy and forum,
A question regarding cylinder bore prep procedure, first some background.
As Guy knows but for other readers, I am building a road race engine for an integrale 16v. I entrusted the job of bottom end machining to, well a machine shop given the specified measurements and bore honing methods as stipulated by the piston supplier. When the pistons arrived in the post last week I went through the usual checks, ring end gaps and bore to skirt clearance ( feeler gauge ). Much to my suprise something didn't check out and in particular No.2 was very tight, nearly 2 thou under the correct clearance and all the others felt slightly loose. Just shows you really should never assume anything !
I returned to the shop with the block and as it turns out the engine was mistakenly bored over size by .06 mm average and not very consistantly accross the four bores. This block is basicly junk to me now and I am starting again with a spare.
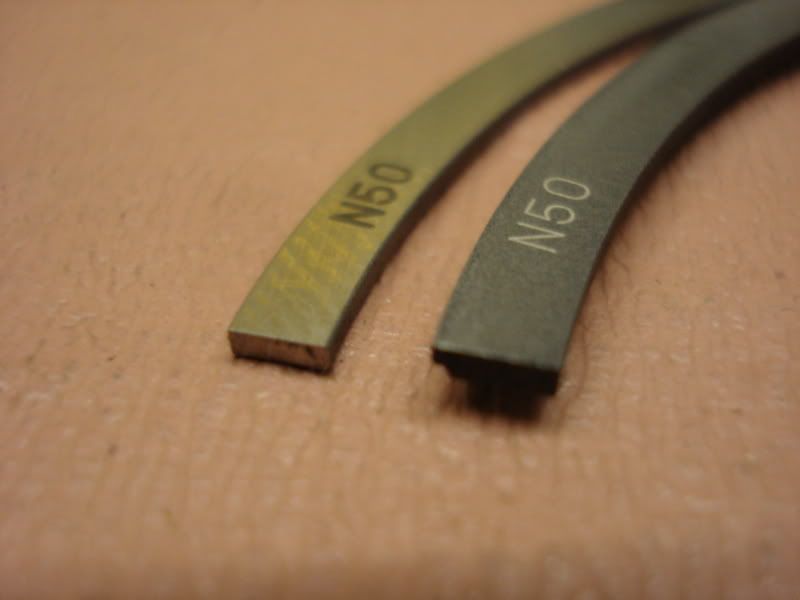
I took advise from another GC forum member and bought my own bore gauge, 3-4 inch micrometer and standard slip gauge to calibrate from to minimise error. For this reason aswell finish honing will be done by me now.
Bore specs are;
Hone cylinders with 280 grit followed by, a light 380 grit brush with a 60* cross hatch.
For a faster ring seal use only the 280 grit.
Finished bore size is 84.5mm
I plan on buying a silicon carbide flex hone in the closest availible grit as stated.
My questions are;
If I get the machinist to bore and hone with 280 grit conventional method, what size should I specify him to finnish at ? In other words, should I leave an allowance undersize for my flex honing op and if so roughly how much material will the finish hone remove ? I have no previous experience with this tool.
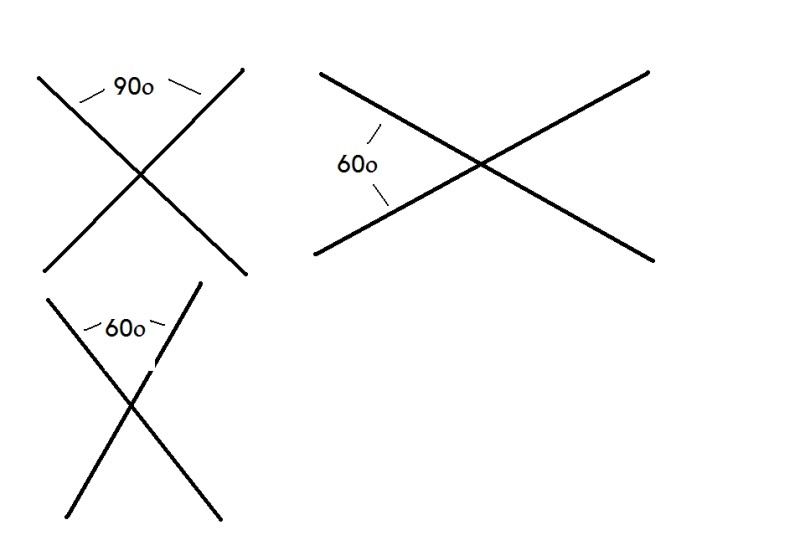
Secondly, which way is the standard for viewing a cross hatch in terms of angle ? Is a 60 deg angle normally looked at as 120 degrees going down the bore, or 60 down the bore and 120 accross ? Obviously a good practice at this will be possible on the now dead engine.
Thanks kindly, Richard
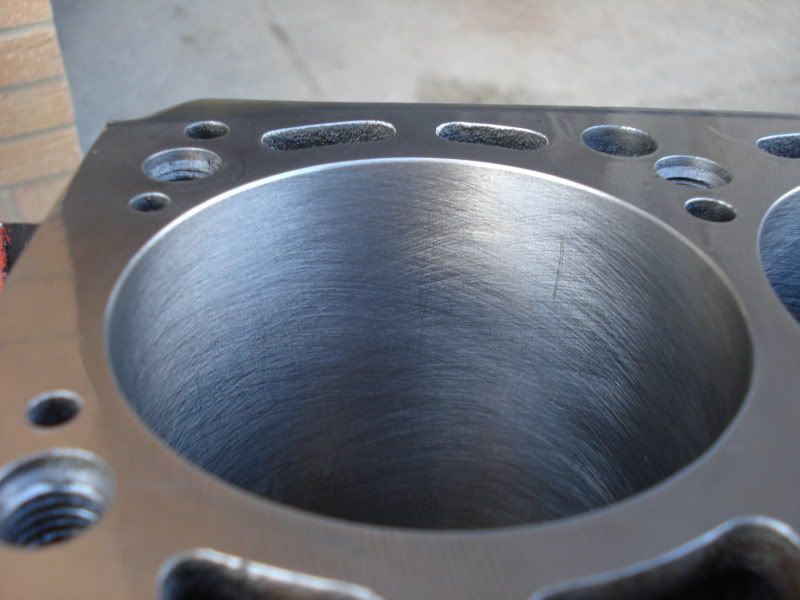
This looks pretty, but turned out to be far from accurate.
A question regarding cylinder bore prep procedure, first some background.
As Guy knows but for other readers, I am building a road race engine for an integrale 16v. I entrusted the job of bottom end machining to, well a machine shop given the specified measurements and bore honing methods as stipulated by the piston supplier. When the pistons arrived in the post last week I went through the usual checks, ring end gaps and bore to skirt clearance ( feeler gauge ). Much to my suprise something didn't check out and in particular No.2 was very tight, nearly 2 thou under the correct clearance and all the others felt slightly loose. Just shows you really should never assume anything !
I returned to the shop with the block and as it turns out the engine was mistakenly bored over size by .06 mm average and not very consistantly accross the four bores. This block is basicly junk to me now and I am starting again with a spare.
I took advise from another GC forum member and bought my own bore gauge, 3-4 inch micrometer and standard slip gauge to calibrate from to minimise error. For this reason aswell finish honing will be done by me now.
Bore specs are;
Hone cylinders with 280 grit followed by, a light 380 grit brush with a 60* cross hatch.
For a faster ring seal use only the 280 grit.
Finished bore size is 84.5mm
I plan on buying a silicon carbide flex hone in the closest availible grit as stated.
My questions are;
If I get the machinist to bore and hone with 280 grit conventional method, what size should I specify him to finnish at ? In other words, should I leave an allowance undersize for my flex honing op and if so roughly how much material will the finish hone remove ? I have no previous experience with this tool.
Secondly, which way is the standard for viewing a cross hatch in terms of angle ? Is a 60 deg angle normally looked at as 120 degrees going down the bore, or 60 down the bore and 120 accross ? Obviously a good practice at this will be possible on the now dead engine.
Thanks kindly, Richard
This looks pretty, but turned out to be far from accurate.